Cloudflare Worker Deployment (Recommended)
This is the most convenient and fastest way to deploy. You don't need to purchase a server, as Cloudflare's global acceleration network will host it for free, truly achieving zero cost and zero maintenance.
🛠️ Deployment Steps
1. Preparation
- Fork this repository to your GitHub account.
- Give this project a Star ⭐ (this will help you stay notified about future updates).
2. One-click Automated Deployment
- Click the Deploy Button:
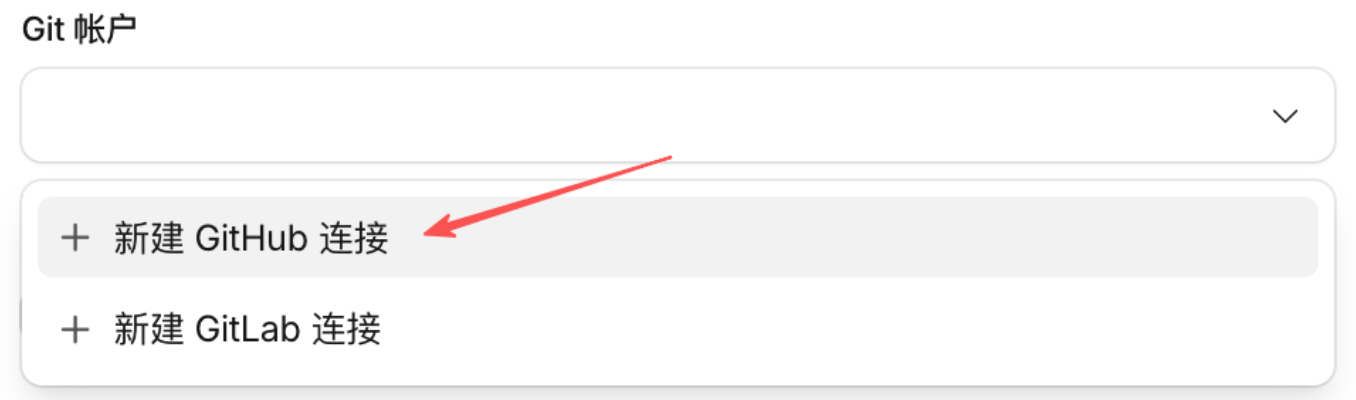
- On the page that opens, click "Continue with GitHub".
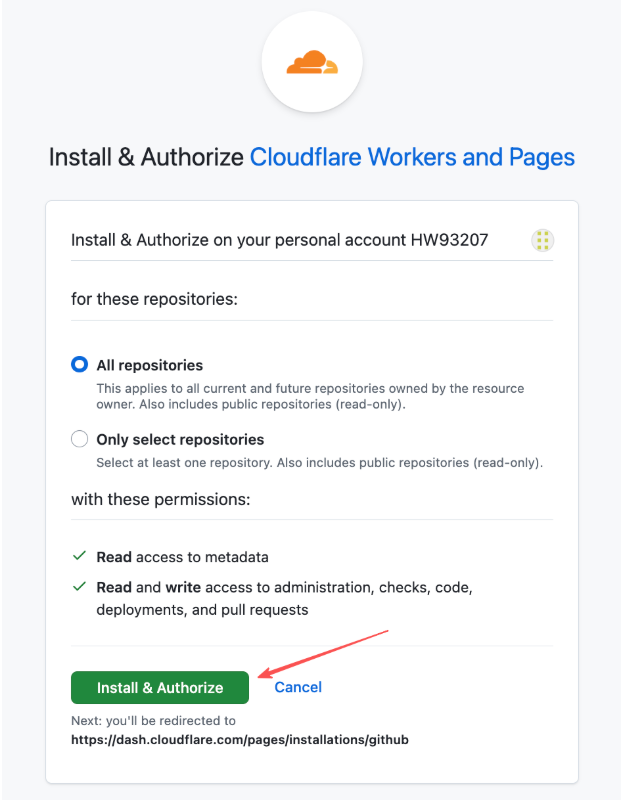
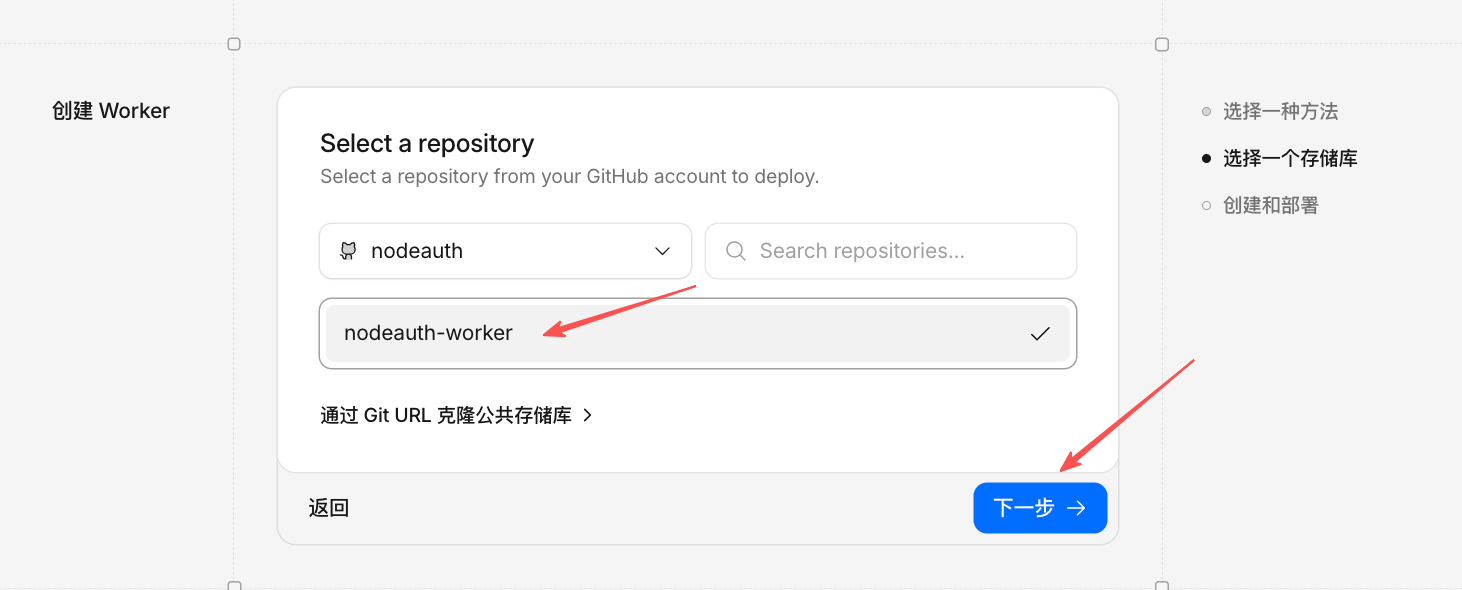
- Authorize Cloudflare to read your repositories and select the
nodeauthproject you just forked.
Click to view: Authorization Guide Screenshot
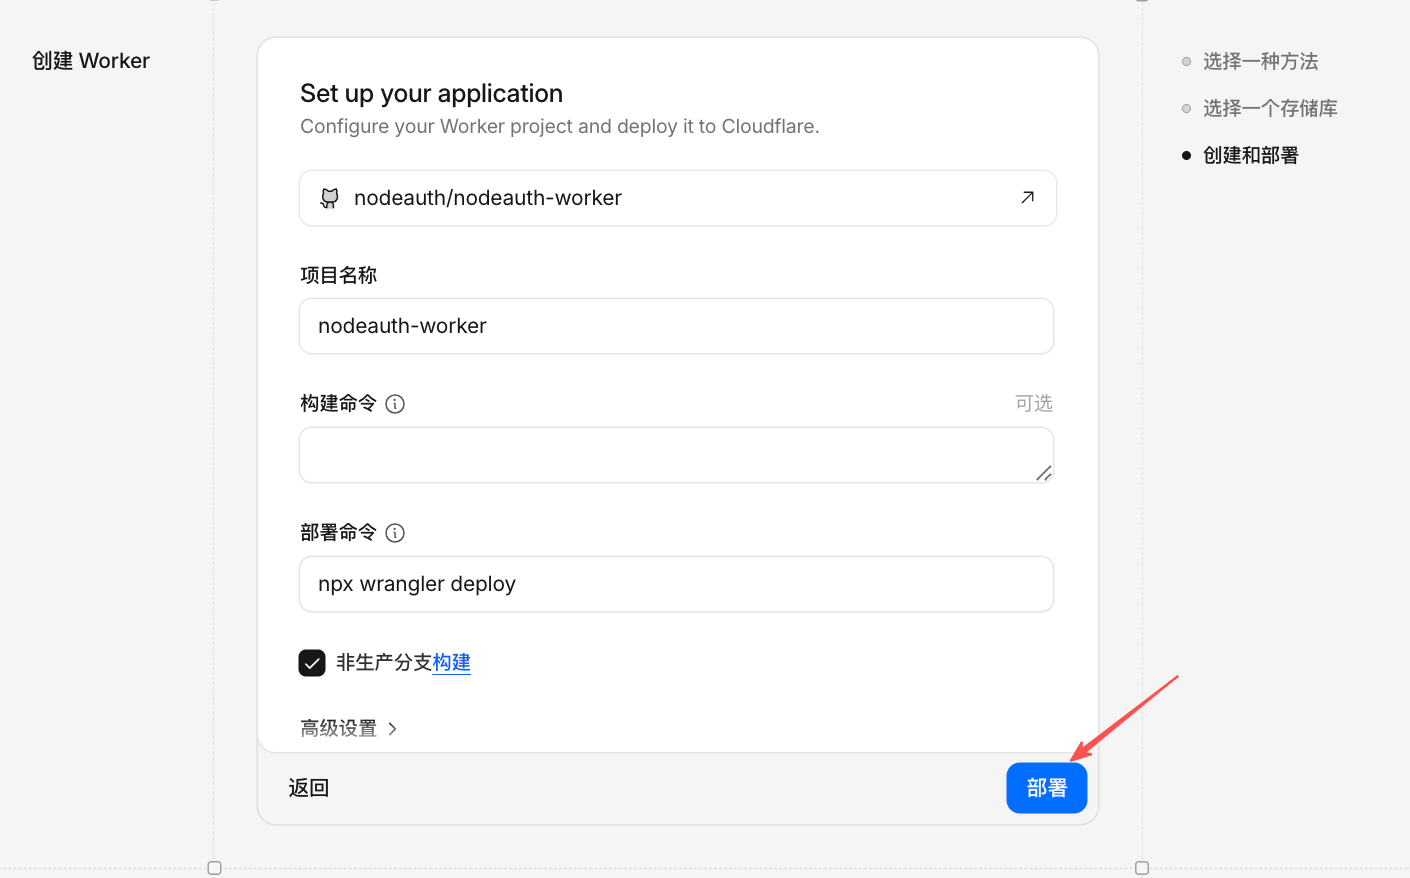
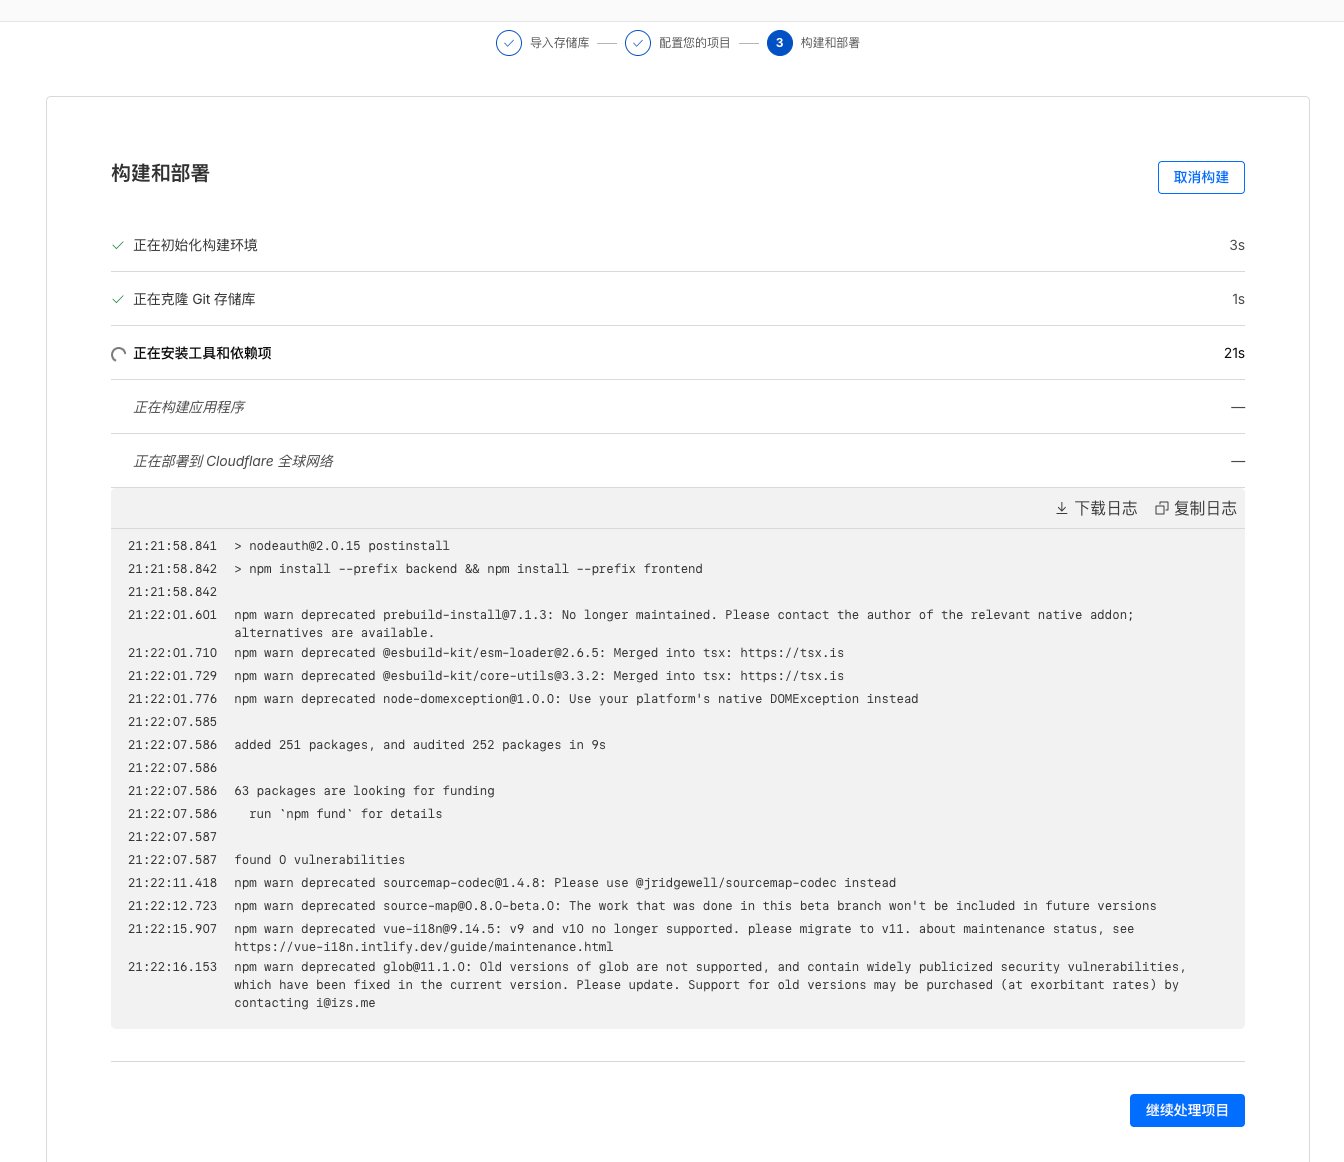
- Click "Deploy", wait for the progress bar to complete, and then click "Continue to project".
Click to view: Detailed Deployment Steps Screenshot

3. Configure Core Variables
After a successful deployment, the app won't run yet. You need to inject security keys:
- Enter the project dashboard, click "Settings" -> "Variables & Secrets".
- Click "Add" and enter the following required items (refer to the Environment Variables Guide for details):
ENCRYPTION_KEY: A random key of at least 32 characters.JWT_SECRET: A random JWT secret of at least 32 characters.OAUTH_ALLOWED_USERS: your-email@example.com
- Don't forget the login channels: If you want to use GitHub login, you also need to add:
OAUTH_GITHUB_CLIENT_ID: Your CLIENT_IDOAUTH_GITHUB_CLIENT_SECRET: Your CLIENT_SECRETOAUTH_GITHUB_REDIRECT_URI: Your callback URI (e.g.,https://your-domain.com/oauth/callback)
Click to view: Adding Variables & Secrets Screenshot
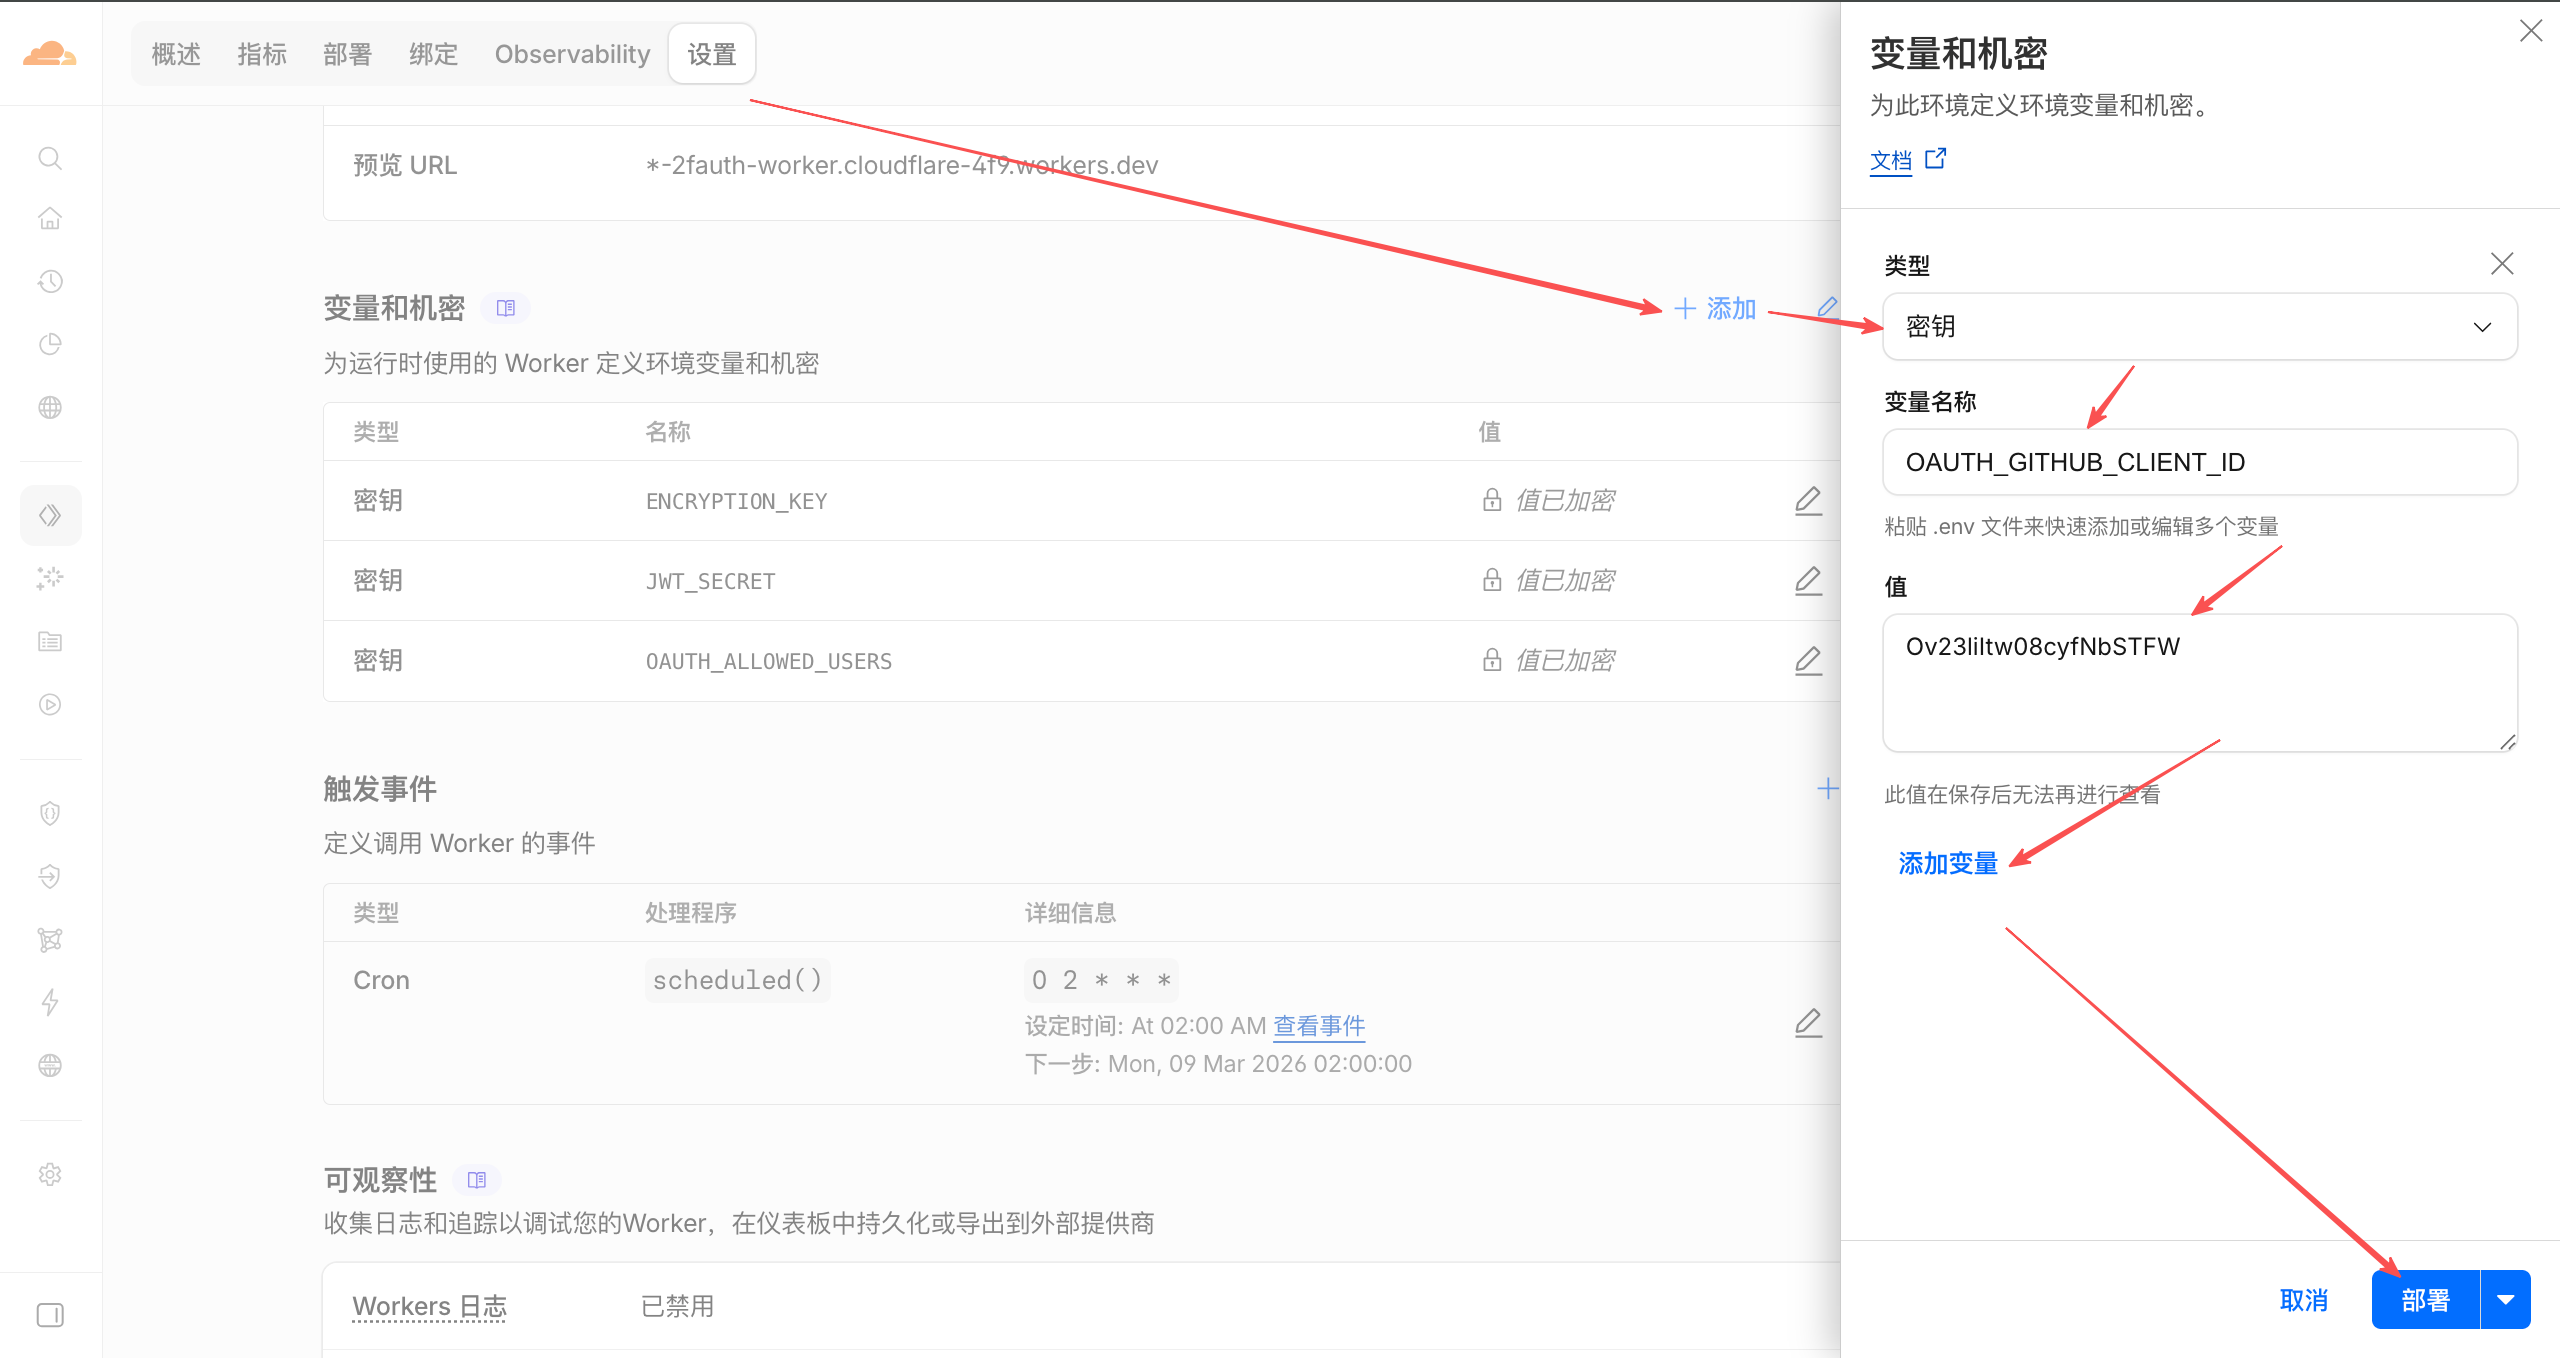
- Finally, click "Deploy" to save your changes.
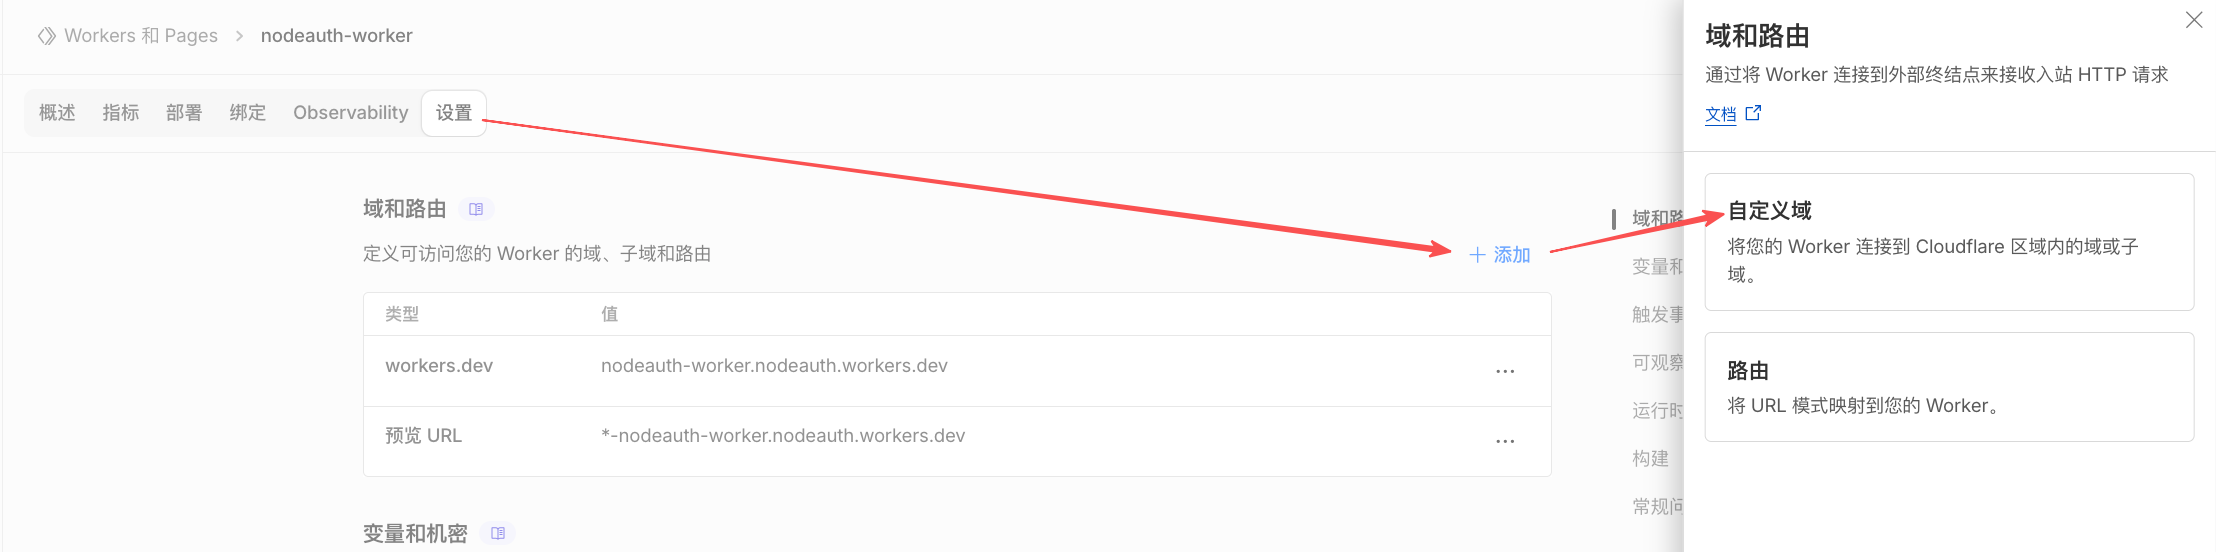
🌐 Custom Domain
By default, Cloudflare assigns a xxx.workers.dev subdomain. If you have your own domain:
- In the project dashboard, click "Settings".
- Find "Custom Domains" -> "Add Custom Domain".
- Enter the domain you want to bind (e.g.,
2fa.example.com). Cloudflare will automatically configure the DNS for you.
Click to view: Adding a Custom Domain